
8inch DSI LCD (with cam)
| ||

Features
- 8-inch capacitive touch screen with a hardware resolution of 800 x 480.
- Capacitive touch panel, support 5-point touch.
- Toughened glass capacitive panel with up to 6H hardness.
- OV5647 camera, 5 mega-pixel, 72.9° diagonal field of view, 2592 × 1944 resolution.
- Supports Pi5/4B/CM4/3B+/3A+/3B/CM3/CM3+/2B/B+/A+.
- Directly drive LCD through the DSI interface of Raspberry Pi, refresh rate up to 60Hz.
- Drive the camera directly through the CSI interface of Raspberry Pi, the video frame rate supports 1920 × 1080p@30, 1280 × 720p@60, 640 × 480p@60, 640 × 480p@90.
- Working with Raspberry Pi, supports Raspberry Pi OS/ Ubuntu/ Kali and Retropie, driver-free..
- Support backlight adjusts by software.
Featured Design

- LCD FFC cable anti-interference design, more stable for industrial applications.
- VCOM voltage adjustment for optimizing display effect.
- Power supply via pogo pins, eliminating messy wiring.
- Two types of 5V output headers, for connecting cooling fans or other low-power devices.
- With OV5647 camera, 5 mega-pixel, 72.9° diagonal field of view, resolution 2592×1944.
- Large front panel design, makes it easy to match user-defined cases or to be integrated into sorts of devices.
- Adopts SMD nuts for holding and fixing the board, a more compact structure.
Hardware Connection
Working with Pi 4B/3B+/3A+/3B/2B/B+/A+
- Use a 15PIN FPC cable to connect the display interface of the 8inch DSI LCD to the DSI interface of the Raspberry Pi.
- Use a 15PIN FFC cable to connect the camera interface to the CSI interface of the Raspberry Pi.
- For ease of use, the Raspberry Pi can be screwed to the back of the display.
The installation effect is shown in the following figure: (The Raspberry Pi will supply power to the LCD via the pogo pin.)

Working with Pi 5/CM4/CM3+/CM3
1. Connect the the display interface of the 8inch DSI LCD to the 22PIN DSI1 interface on the Raspberry Pi board using the DSI-Cable-12cm cable.
2. Connect the camera interface to the 22PIN CSI0 interface on the Raspberry Pi board with the Pi5-Camera-Cable.
3. Connect the LCD's power connector to the Raspberry Pi's 40PIN GPIO header using the 2PIN power connector cable.
4. For ease of use, the Raspberry Pi 5 can be screwed to the back of the 8-inch DSI LCD and assembled with copper posts. As shown in the figure below:

Software Settings
Raspberry Pi OS Imager Insallation
For Raspberry Pi OS/Ubuntu/Kali and Retropie system:
- 1. Connect the TF card to the PC, download and use Raspberry Pi Imager to program the corresponding system image.

- 2. After installing the image, open the "config.txt" file on the TF card root directory, add the following codes at the end of "config.txt", and then save and safely remove the TF card.
Note: as there are two MIPI DSI interfaces on the Pi5/CM4/CM3+/CM3, please pay attention to using the correct DSI interface and commands, and the DSI1 interface is recommended.
dtoverlay=vc4-kms-v3d
#DSI1 Use
dtoverlay=vc4-kms-dsi-7inch
#DSI0 Use
#dtoverlay=vc4-kms-dsi-7inch,dsi0
- 3. Insert the TF card into the Raspberry Pi, power it up, and wait for a few seconds for the display. Once the system boots up, you should be able to interact with it normally, including touchscreen functionality.
Backlight Control
WaveShare provides the corresponding demo for the application (only supports Bookworm and Bullseye systems). Users can install it by the following commands:
wget https://files.waveshare.com/upload/f/f4/Brightness.zip
unzip Brightness.zip
cd Brightness
sudo chmod +x install.sh
./install.sh
After installation, you can open it: Menu -》Accessories -》Brightness:

In addition, you can also input the following commands to control the backlight brightness in the terminal:
echo X | sudo tee /sys/class/backlight/*/brightness
X indicates any number from 0 to 255. 0 means the backlight is the darkest, and 255 means the backlight is the brightest. For example:
echo 100 | sudo tee /sys/class/backlight/*/brightness
echo 0 | sudo tee /sys/class/backlight/*/brightness
echo 255 | sudo tee /sys/class/backlight/*/brightness
Bookworm Touchscreen Rotation
- 1. Open "Screen Configuration" application.

- 2. Enter "Screens" -> "DSI-1"->"Orientation", and select the rotation direction. Then click on "Apply" to complete the display and touch sync rotation.

Note: Only the Bookworm system supports the above synchronized rotation method, for Bullseye and Buster systems, after the display rotates, you need to set the touch rotation additionally.
Bullseye/Buster Display Rotation
- 1. Open "Screen Configuration" application:

- 2. Enter "Screens"->"DSI-1"->"Orientation", select the rotation direction, and then click on "Apply" to complete the display rotation.


Stretch/Jessie Display Rotation
For some older systems, vc4-kms-v3d or vc4-fkms-v3d driving mode is not available. The supported display rotation methods as shown below:
- 1. Add the following sentence in config.txt file (located in the root directory ("/boot") of the TF card).
display_rotate=1 #1:90;2: 180; 3: 270
- 2. Save and reboot the Raspberry Pi :
sudo reboot
lite Version Display Rotation
sudo nano /boot/cmdline.txt
#For the latest system: sudo nano /boot/firmware/cmdline.txt
#Add the command to display the rotation angle at the beginning of the cmdline.txt file, save and reboot to take effect
#Display rotates 90°
video=DSI-1:800x480M@60,rotate=90
#Display rotates 180°
video=DSI-1:800x480M@60,rotate=180
#Display rotates 270°
video=DSI-1:800x480M@60,rotate=270
Touch Rotation
For some systems, as the touch direction is different after display rotation, you need to rotate the touch as shown below:
1. Install libinput
sudo apt-get install xserver-xorg-input-libinput
- If the system you want to install is Ubuntu or Jetson Nano, the installation command is:
sudo apt install xserver-xorg-input-synaptics
2. Create xorg.conf.d directory in /etc/X11/. (If the directory exists, you can directly skip to Step 3.)
sudo mkdir /etc/X11/xorg.conf.d
3. Copy 40-libinput-conf file to the directory created just now.
sudo cp /usr/share/X11/xorg.conf.d/40-libinput.conf /etc/X11/xorg.conf.d/
4. Edit the file.
sudo nano /etc/X11/xorg.conf.d/40-libinput.conf
Find the touchscreen part, add the following sentence, and then save.
#Find touchscreen part, add the corresponding rotation angle commands and save
#90°Right Rotation:
Option "CalibrationMatrix" "0 1 0 -1 0 1 0 0 1"
#180° Inverted Touch Rotation:
#Option "CalibrationMatrix" "-1 0 1 0 -1 1 0 0 1"
#270° Left Rotation:
#Option "CalibrationMatrix" "0 -1 1 1 0 0 0 0 1"
As shown below:

5. Reboot the Raspberry Pi.
sudo reboot
After finishing the above steps, the touch can be rotated.
Sleep
Run the following commands on the Raspberry Pi terminal, and the screen will enter sleep mode:
xset dpms force off
Disable Touching
If you want to disable the touch function, you can modify the config.txt file, add the following line to the file and reboot the system. (The config file is located in the root directory of the TF card, and can also be accessed through the command: sudo nano /boot/config.txt):
disable_touchscreen=1
Note: After adding the command, it needs to be restarted to take effect.
Use the camera
If you don't know the difference between the two branches of Raspberry Pi OS, you can check the following introduction to the Raspberry Pi OS Branches.
Raspberry Pi OS Bookworm and bullseye Branch
In this branch, the libcamera camera subsystem interface is used by default. The camera interface is turned on by default.
The camera can be controlled with the following commands:
#libcamera-hello is a simple "hello world" program, which mainly starts the camera preview function and displays it on the screen.
libcamera-hello //The preview window is displayed for about 5 seconds
libcamera-hello -t 0 //Display the preview window for a long time, use ctrl+c to end

#libcamera-jpeg is a simple application that runs the preview window and then takes a high-resolution still image.
libcamera-jpeg -o test.jpg //Display a preview window for about 5 seconds, then save the full-resolution JPEG image to test.jpg

#libcamera-still is a more sophisticated still image capture application, mainly to simulate raspistill
libcamera-still -o test.jpg //Display a preview window for about 5 seconds, and then the image is saved to test.jpg

#libcamera-vid is a video shooting application. The Raspberry Pi hardware H.264 encoder is used by default.
libcamera-vid -t 10000 -o test.h264 //Save a 10 seconds video to test.h264
vlc test.h264 //The resulting file can be played using vlc

#libcamera-raw is a basic application that captures raw frames directly from the sensor, without showing a preview window.
libcamera-raw -t 2000 -o test.raw //Save the 2 seconds video to test.raw
More detailed information can be found at: libcamera and libcamera-apps.
Note: On some motherboards, using libcamera may report an error, you can try to execute the following commands.
sudo raspi-config -> Advanced Options -> Glamor -> Yes (Enabled) -> Ok -> Finish -> Yes (Reboot).
Raspberry Pi OS buster Branch and Ubuntu
The raspicam camera subsystem interface is used by default on these systems. The camera interface is enabled by default in Ubuntu. In the Raspberry Pi OS buster branch, you need to execute the following command to open the camera interface.
sudo raspi-config -> Interface Options -> Camera -> Yes -> OK -> Finish -> Yes (Reboot).
The camera can be controlled with the following commands:
#raspistill is an application that runs a preview window and then takes a high-resolution still image.
raspistill -o cam.jpg //A preview window is displayed for about 5 seconds, then the image is saved to cam.jpg
raspistill -vf -hf -o cam2.jpg //Flip Vertical and Flip Horizontal

#raspivid is a video shooting application.
raspivid -o vid.h264 //Save the 5-second video to test.h264
raspivid -o video.h264 -t 10000 //Record 10-second video
raspivid -vf -hf -o video.h264 -t 10000 //Flip Vertical and Flip Horizontal
More detailed information can be found at: Raspicam command.
Resources
2D Diagrams
3D File
FAQ
8.88mm
{{{5}}}
300cd/㎡
{{{5}}}
Check the system version using "uname --all". If it's kernel version 6.6.20, run "sudo rpi-update pulls/6050" to fix it.
Note: Take care to back up any important data in your image before updating in case there is a regression.
{{{5}}}
Anti-Piracy
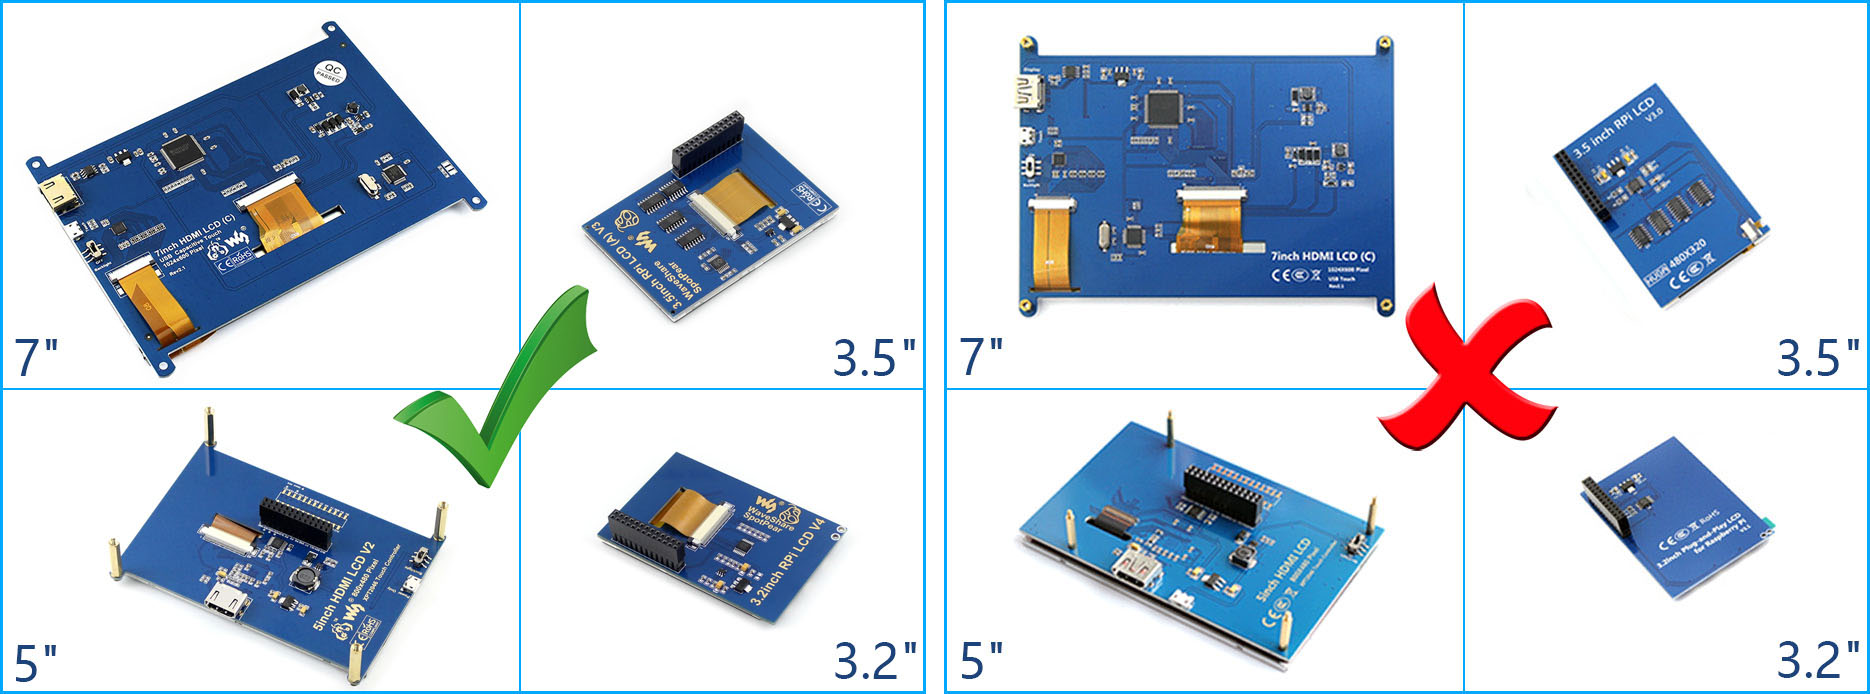
Since the first-generation Raspberry Pi released, Waveshare has been working on designing, developing, and producing various fantastic touch LCDs for the Pi. Unfortunately, there are quite a few pirated/knock-off products in the market. They're usually some poor copies of our early hardware revisions, and comes with none support service.
To avoid becoming a victim of pirated products, please pay attention to the following features when purchasing:
Beware of knock-offs
Please note that we've found some poor copies of this item in the market. They are usually made of inferior materials and shipped without any testing.
You might be wondering if the one you're watching or you've purchased in other non-official stores is original, feel free to contact us.
Support
Technical Support
If you need technical support or have any feedback/review, please click the Submit Now button to submit a ticket, Our support team will check and reply to you within 1 to 2 working days. Please be patient as we make every effort to help you to resolve the issue.
Working Time: 9 AM - 6 PM GMT+8 (Monday to Friday)