
4inch DSI LCD
| ||

Features
- 4inch DSI touch screen with five-point capacitive touch control
- IPS display panel with a hardware resolution of 480×800
- Adopt the optical bonding process for clearer picture quality
- Toughened glass touch panel, hardness up to 6H
- Support Pi5/CM5/4B/CM4/3B+/3A+/3B/CM3+/CM3
- Directly drive the LCD by the DSI interface on the Raspberry Pi, with up to 60Hz refreshing rate
- Supports Bookworm/Bullseye/Buster systems when working with Raspberry Pi
- Supports software control of backlight brightness
Video Tutorial
Interface Definition
| PIN | Label |
|---|---|
| 1 | GND |
| 2 | DSI1_DN1 |
| 3 | DSI1_DP1 |
| 4 | GND |
| 5 | DSI1_CN |
| 6 | DSI1_CP |
| 7 | GND |
| 8 | DSI1_DN0 |
| 9 | DSI1_DP0 |
| 10 | GND |
| 11 | SCL0 |
| 12 | SDA0 |
| 13 | GND |
| 14 | 3V3 |
| 15 | 3V3 |
Hardware Connection
Working with Pi5/CM4/CM3+/CM3
Connect the DSI interface of the display to the 22PIN DSI1 interface of the Raspberry Pi board using the "DSI Cable-12cm" cable
The installation effect is as follows:

Working with Pi4B/3B+/3B/3A+
Connect the DSI interface of the display to the DSI interface of the Raspberry Pi board using a 15PIN FPC cable
The installation effect is as follows:

Software Setting
For Bookworm and Bullseye System
Method 1: Use Raspberry Pi Imager to Flash Latest Official Image
- 1. Connect the TF card to the PC, download and use Raspberry Pi Imager to flash the corresponding system image.

- 2. After the image flashing is completed, open the config.txt file in the root directory of the TF card, add the following code at the end of the config.txt, save and safely eject the TF card.
Note: Since Pi5/CM5/CM4/CM3+/CM3 has two mipi DSI interfaces, please note that the correct DSI interfaces and commands are used, DSI1 is recommended by default.
dtoverlay=vc4-kms-v3d
#DSI1 Use
dtoverlay=vc4-kms-dsi-waveshare-panel,4_0_inch
#DSI0 Use
#dtoverlay=vc4-kms-dsi-waveshare-panel,4_0_inch,dsi0
- 3. Insert the TF card into the Raspberry Pi, power on the Raspberry Pi, and wait for a few seconds normally to enter the display. After the system starts, the touch function can be used normally.
Method 2: Use the Pre-installed Image
1. Select the corresponding Raspberry Pi version image, download and unzip it as .img file.
Raspberry 3/4B/CM4/5 version download: Waveshare DSI LCD - Pi3/4B/CM4/5 pre-installed image
2. Connect the TF card to the PC, format the TF card with SDFormatter.
3. Open Win32DiskImager, select the prepared system image, and click "Write" to start flashing.
4. After the flashing is completed, open the config.txt file in the root directory of the TF card, find the line "[all]", according to your display model, uncomment the relevant lines to enable the DSI display, and then save and safely eject the TF card.
Note: For Pi5/CM4/CM3+/CM3, since there are two MIPI DSI display interfaces, please make sure to use the correct display interface and commands, the DSI1 display interface is recommended by default.
Let's take the 8.8inch DSI LCD as an example:
Use DSI1 interface:
#8.8inch DSI LCD
dtoverlay=vc4-kms-dsi-waveshare-panel,8_8_inch
Use DSI0 interface:
#8.8inch DSI LCD
dtoverlay=vc4-kms-dsi-waveshare-panel,8_8_inch,dsi0
5. Insert the TF card into the Raspberry Pi, power on and start, wait for a few seconds to enter the system display, and the touch function can also work normally.
For Buster System
Method 1: Install Driver Manually
1. Download the latest version of the image from the Raspberry Pi official website, download the compressed file to your PC, and extract it as .img file.
2. Connect the TF card to the PC, format the TF card with SDFormatter software.
3. Open the Win32DiskImager software, select the system image prepared in step 1, and click Write to flash the system image.
4. After the flashing is completed, connect the TF card to the Raspberry Pi, start the Raspberry Pi, and log in to the terminal of the Raspberry Pi (you can connect the Raspberry Pi to the HDMI display or use ssh to log in remotely).
#Step 1: Download and enter the Waveshare-DSI-LCD driver folder
git clone https://github.com/waveshare/Waveshare-DSI-LCD
cd Waveshare-DSI-LCD

#Step 2: Enter uname -a on the terminal to view the kernel version, and cd it to the corresponding file directory
#6.1.21 then run the following command
cd 6.1.21

#Step 3: Please determine the bits of the current system you are using. For a 32-bit system, proceed to the 32 directory, and for a 64-bit system, proceed to the 64 directory
cd 32
#cd 64

#Step 4: Enter your corresponding model command to install the driver, pay attention to the selection of the I2C dip switches
#4inch DSI LCD 480×800 Driver:
sudo bash ./WS_xinchDSI_MAIN.sh 40 I2C0

#Step 5: Wait for a few seconds, when the driver installation is complete and no error is displayed, restart and load the DSI driver to use it normally
sudo reboot
#Note: The steps above require that the Raspberry Pi can connect to the Internet normally
5. Wait for the system to restart, and it will be able to display and touch normally.
Method 2: Flash Pre-installed Image
1. Select your corresponding Raspberry Pi version image, download and unzip it as .img file.
Raspberry Pi 4B/CM4 version download: Waveshare DSI LCD - Pi4 pre-installed image
Raspberry 3B/3B+/CM3 Version Download: Waveshare DSI LCD - Pi3 pre-installed image
2. Connect the TF card to the PC, format the TF card with SDFormatter software.
3. Open the Win32DiskImager software, select the system image prepared in step 1, and click Write to flash the system image.
4. After the flashing is completed, open the config.txt file in the root directory of the TF card, add the following code under [all], save and safely eject the TF card.
dtoverlay=WS_xinchDSI_Screen,SCREEN_type=1,I2C_bus=10
dtoverlay=WS_xinchDSI_Touch,invertedx,swappedxy,I2C_bus=10
5. Connect the TF card to the Raspberry Pi, start the Raspberry Pi, and wait for about 30 seconds before it can be displayed and the touch function can be used normally.
Precautions for Buster System
1. Update the system to execute the following commands
sudo apt-get update
sudo apt-get full-upgrade
Note: After updating the system, some files of the originally installed driver may be overwritten, and you need to reinstall the driver to display it normally.
2. Replace the motherboard
If the driver originally installed on the Raspberry Pi 4 Model B, if the user changes the motherboard, such as changing it to the Raspberry Pi 3 Model B+, the display will not display properly.
Because Pi4 and Pi3 need to load different driver files, you need to reinstall the driver according to For Buster System on the new motherboard for it to display normally.
Template:800*480 DSI LCD software backlight adjustment
Trixie/Bookworm Display Rotation
GUI interface rotation
The following steps are based on the Trixie system:
- 1. Click the menu in the upper left corner, then go to "Preferences" -> "Control Center", and select "Screens";

- 2. Go to "Screen" -> "DSI-1" -> "Touchscreen" and check "10-0014 Goodix Capacitive TouchScreen";

- 3. Go to "Screen" -> "DSI-2" -> "Orientation", check the direction you need to rotate, and finally click "Apply" to complete the display and touch synchronous rotation.

- In the Bookworm system, this setting entry is located at "Screen Configuration" -> "Screen".
Bullseye/Buster Display Rotation
- 1. Open the "Screen Configuration" application;

- 2. Go to "Screen" -> "DS-1" -> "Orientation", check the direction you need to rotate, and finally click "Apply" to complete the display rotation.


Bullseye/Buster Touch Rotation
sudo nano /boot/config.txt
#The command to modify the touch rotation angle at the end of the config.txt file will take effect after restarting (the command for 0° touch direction exists by default)
#90°:
dtoverlay=WS_xinchDSI_Touch,invertedx,invertedy
#180°:
dtoverlay=WS_xinchDSI_Touch,invertedy,swappedxy
#270°:
dtoverlay=WS_xinchDSI_Touch
#0°:
dtoverlay=WS_xinchDSI_Touch,invertedx,swappedxy
lite Version Display Rotation
sudo nano /boot/cmdline.txt
#Add a command to display the rotation angle at the beginning of the cmdline.txt file, and save it to take effect after restarting
#Display rotation 90 degrees
video=DSI-1:480x800M@60,rotate=90
#Display rotation 180 degrees
video=DSI-1:480x800M@60,rotate=180
#Display rotation 270 degrees
video=DSI-1:480x800M@60,rotate=270
Set Screen Off and On
Run the following command on the Raspberry Pi terminal and the screen will be turned off:
wlr-randr --output DSI-2 --off
# DSI-2 needs to be modified to the actual display in use, e.g. "DSI-1" or "HDMI-A-1"
Run the following command on the Raspberry Pi terminal and the screen will be turned on:
wlr-randr --output DSI-2 --on
# DSI-2 needs to be modified to the actual display in use, e.g. "DSI-1" or "HDMI-A-1"
Note: This command is only applicable to the Labwc and Wayfire graphical interfaces and not to the X11 graphical interface.
Screen Sleep
Run the following command on the Raspberry Pi terminal and the screen will enter sleep mode:
xset dpms force off
Note: This command is only applicable to the X11 graphical interface and not to the Labwc and Wayfire graphical interfaces.
Disable Touch
At the end of the config.txt file, add the following command corresponding to disabling touch (the config file is located in the root directory of the TF card, which can also be accessed via the command: sudo nano /boot/config.txt):
disable_touchscreen=1
Note: After adding a command, it needs to be restarted to take effect.
Resources
3D Diagrams
Software
Pre-installed Images
FAQ
Please configure as below and try to use the camera again.
sudo raspi-config
Choose Advanced Options -> Glamor -> Yes (Enabled) -> OK -> Finish -> Yes (Reboot).
{{{5}}}
Replace the image in this directory /usr/share/plymouth/themes/pix/splash.png with the custom image.
{{{5}}}
No, it doesn't.
The default DIP switch on the screen is set to I2C-0, and communication and power supply are done through the DSI cable, so there is no need to connect the pin header.
If you want to use the 40Pin I2C port (I2C-1) of the Raspberry Pi, you need to:
- Switch the dip switch to I2C-1

- Use a reserved 4PIN header to connect I2C and power supply
Anti-Piracy
Since the first-generation Raspberry Pi released, Waveshare has been working on designing, developing, and producing various fantastic touch LCDs for the Pi. Unfortunately, there are quite a few pirated/knock-off products in the market. They're usually some poor copies of our early hardware revisions, and comes with none support service.
To avoid becoming a victim of pirated products, please pay attention to the following features when purchasing:
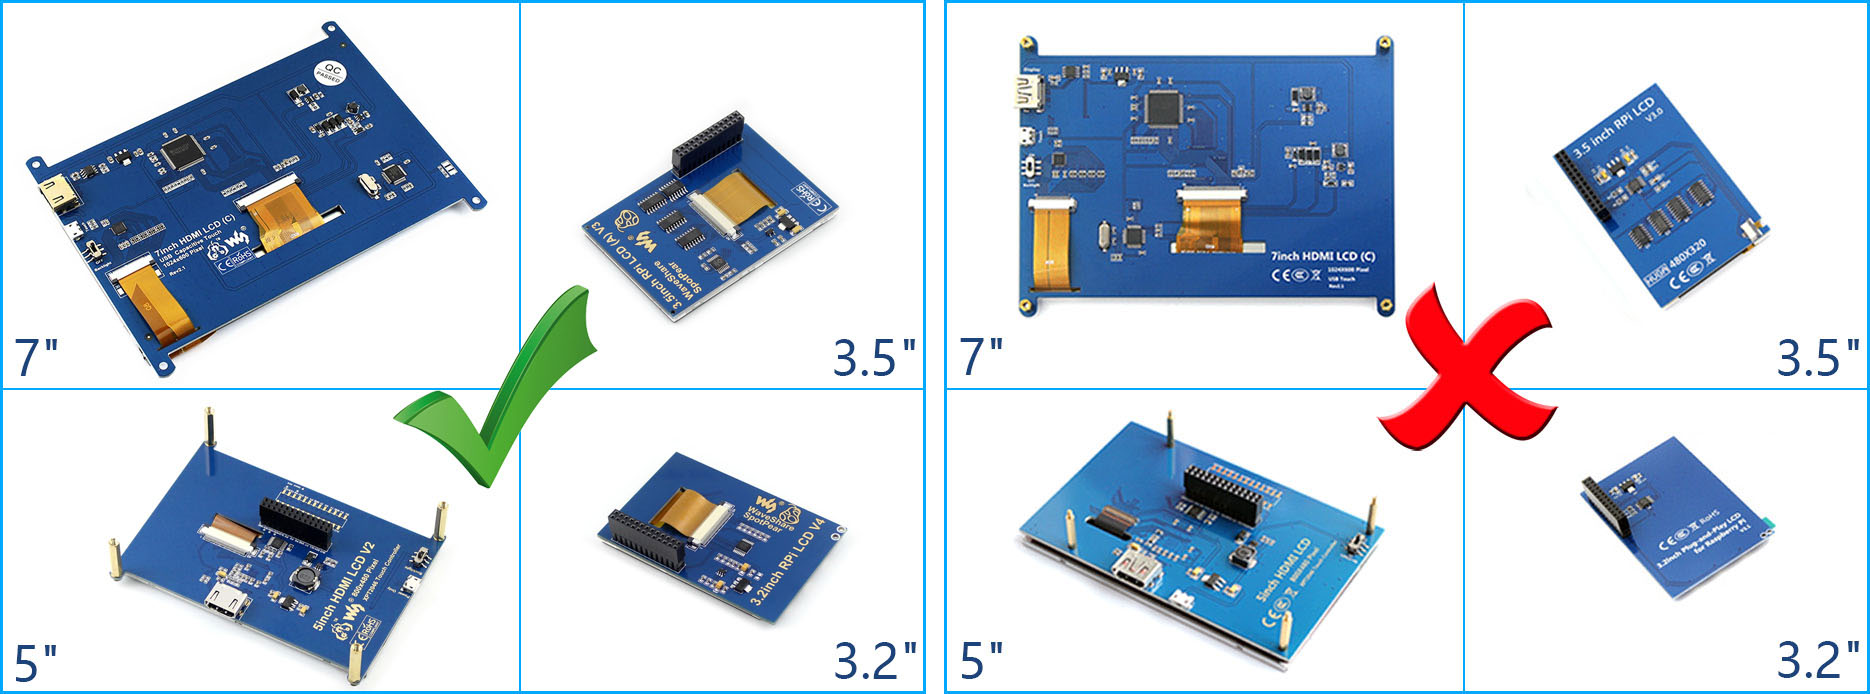
Beware of Knock-offs
Please note that we've found some poor copies of this item in the market. They are usually made of inferior materials and shipped without any testing.
You might be wondering if the one you're watching or you've purchased in other non-official stores is original, feel free to contact us.
Support
Technical Support
If you need technical support or have any feedback/review, please click the Submit Now button to submit a ticket, Our support team will check and reply to you within 1 to 2 working days. Please be patient as we make every effort to help you to resolve the issue.
Working Time: 9 AM - 6 PM GMT+8 (Monday to Friday)