
4inch HDMI LCD (H)
| ||

Overview
Introduction
4-inch Resistive Touch Screen LCD, HDMI interface, IPS Screen (Type H), Designed for Raspberry Pi.
Features
- 4inch IPS screen, high resolution is 480 × 800.
- Resistive touch control.
- It can be directly connected to any version of Raspberry Pi. (If you are using a Raspberry Pi Zero / Zero 2 W, an additional HDMI cable is required.)
- Supports Raspberry Pi OS / Ubuntu / Kali and Retropie systems.
- Also works as a computer monitor, in this case, the touch panel is unavailable and an HDMI cable is required.
- HDMI interface for displaying, no I/Os required. (however, the touch panel still needs I/Os.)
- OSD menu, supports brightness/contrast ratio adjustable manually.
- 3.5mm audio jack and supports HDMI audio output.
Working with Raspberry Pi
Hardware Connection
1. Connect the GPIO interface.
Raspberry Pi leads out 40 GPIO pins, while the screen leads out 26 pins. When connecting, pay attention to the corresponding pins and Raspberry Pi pins.
2. Connect the HDMI connector to the HDMI port of the screen and the Pi.
3. Turn the Backlight on the back of the LCD to "ON".
Note: Raspberry Pi Zero / Zero 2 W needs an additional HDMI cable for connection.
The hardware connection is as shown below (Pi 4 and Pi 3B+):


Software Setting
This LCD can support Raspberry Pi OS / Ubuntu / Kali / Retropie systems.
Please download the latest version of the image on the Raspberry Pi official website.
1) Download the compressed file to the PC, and unzip it to get the .img file.
2) Connect the TF card to the PC, and use SDFormatter software to format the TF card.
3) Open the Win32DiskImager software, select the system image downloaded in step 1, and click 'Write' to write the system image.
4) After the image has finished writing, open the config.txt file in the root directory of the TF card, add the following code at the end of config.txt, then save and quit the TF card safely.
dtoverlay=waveshare-ads7846,penirq=25,xmin=150,xmax=3900,ymin=100,ymax=3950,speed=50000
5) Download the waveshare-ads7846.dtbo file and extract the dtbo files. Copy these files to the overlays directory (/boot/overlays/).
6) Insert the TF card into the Raspberry Pi, power on the Raspberry Pi, and wait for more than 10 seconds to display normally.
Touch calibration
Modify the parameters of the config.txt file:
① If the left edge of the X-axis cannot be touched, adjust the x_min parameter. For example, adjusting the default value of x_min from 200 to 100 extends the touch range to the left by 100.
② If the right edge of the X-axis cannot be touched, adjust the x_max parameter. For example, adjusting the default value of y_min from 3900 to 4000 extends the touch range to the right by 100.
③ If the top edge of the Y-axis cannot be touched, adjust the y_min parameter. For example, adjusting the default value of y_min from 200 to 100 extends the touch range to the top by 100.
④ If the bottom edge of the Y-axis cannot be touched, adjust the y_max parameter. For example, adjusting the default value of y_max from 3900 to 4000 extends the touch range to the bottom by 100.
For the value of the x_min, x_max, y_min, and y_max, you can refer to the evtest tool to define:
sudo apt-get install evtest
sudo evtest

Here, you can select the third one (The serial number displayed on different users' Raspberry Pi's may not be the same, depending on the user's actual serial number)
Put your finger on each of the four edges of the touch screen (x_min on the left, x_max on the right, y_min on the top, y_max on the bottom).
- Put your finger on "x_min":

- Put your finger on "x_max":

- Put your finger on "y_min":

- Put your finger on "y_max":

sudo nano /boot/firmware/config.txt
Add the following content:
dtoverlay=waveshare-ads7846,x_min=164,x_max=4010,y_min=154,y_max=3758
This is the more accurate touch range of the current touch device, and finally typing "sudo reboot" to reboot to take effect the current configuration.
Rotation
Add Rotation Parameters
Bookworm Touchscreen Rotation:
1. Open "Screen Configuration" application:

2. Enter "Screen" -> "HDMI-1" -> "Orientation", select the rotation orientation and click on "Apply". Then, the touch can be rotated aligning with the display.

After rotation, you need to switch the corresponding positions of xmin, xmax, ymin and ymax to rotate the touch orientation.
For the lite version, you can adopt the following way to rotate:
sudo nano .config/wayfire.ini
Add the following sentence to the end of the file:
[output:HDMI-A-1]
mode = 800x480@60
transform = 270
For "transform" parameter, you can select normal, 90, 180 and 270.
For Bullseye and Kali systems:
First check if the system you are using has the KMS or FKMS driver loaded.
How to check: in /boot/config.txt, check whether the corresponding board has opened "dtoverlay=vc4-kms-v3d" or "dtoverlay=vc4-fkms-v3d".
If it opens, you can use the following command to display rotation:
sudo nano /etc/xdg/lxsession/LXDE-pi/autostart
#Enter the command corresponding to the angle of rotation at the end of the "autostart" file, reboot it to take effect
#0: rotate 0 degree; 1: rotate 90 degrees; 2: rotate 180 degrees; 3: rotate 270 degrees
xrandr -o 1
If it does not open, you can use the following command to display:
sudo nano /boot/config.txt
#Enter the command corresponding to the angle of rotation at the end of the "config.txt" file, reboot it to take effect
#0: rotate 0 degree; 1: rotate 270 degrees; 2: rotate 180 degrees; 3: rotate 90 degrees
display_rotate=3
For Ubuntu System
First check whether the KMS or FKMS driver is loaded on the system you are using.
Check method: In /boot/firmware/config.txt, check whether the line dtoverlay=vc4-kms-v3d or dtoverlay=vc4-fkms-v3d is turned on.
If the driver is loaded, you can use the following method to rotate:
Note: For different versions of Ubuntu systems, the interface may be different. Generally, you can find the "Displays" application and rotate it.


Execute the command to rotate the Ubuntu login interface. If the Ubuntu login interface is not opened, this step can be omitted:
#For 32-bit systems, execute the following command, replace your_user with the currently logged-in user name
sudo cp /home/<your_user>/.config/monitors.xml /var/lib/lightdm/.config
#For 64-bit systems, execute the following command, replace your_user with the currently logged-in user name
sudo cp /home/<your_user>/.config/monitors.xml /var/lib/gdm3/.config
sudo chown gdm:gdm /var/lib/gdm3/.config/monitors.xml
Execute the following command to rotate the command line display during startup:
sudo nano /boot/firmware/cmdline.txt
#Add the following code at the end to rotate the command line
#rotate 0 degree
fbcon=rotate:0 video=HDMI-A-1:800x480M@60,rotate=0
#rotate 90 degrees
fbcon=rotate:3 video=HDMI-A-1:800x480M@60,rotate=90
#rotate 180 degrees
fbcon=rotate:2 video=HDMI-A-1:800x480M@60,rotate=180
#rotate 270 degrees
fbcon=rotate:1 video=HDMI-A-1:800x480M@60,rotate=270
No KMS or FKMS driver loaded
Rotation is relatively simple, just use the following command to display rotation:
sudo nano /boot/firmware/config.txt
#Enter the command corresponding to the display rotation angle at the end of the config.txt file, and it will take effect after rebooting the system.
#0: rotate 0 degrees; 1: rotate 270 degrees; 2: rotate 180 degrees; 3: rotate 90 degrees
display_rotate=3
Add touch rotation parameter
sudo nano /usr/share/X11/xorg.conf.d/99-calibration.conf
#Modify the relevant command line in the 99-calibration.conf file, and it will take effect after rebooting the system. The following are the default calibration parameters. If you need to use specific calibration parameters, please pay attention to the order of the Calibration parameter values.
#touch rotates 0 degree:
Option  "Calibration"   "208 3905 288 3910"
Option  "SwapAxes"      "0"
#touch rotates 90 degrees:
Option  "Calibration"   "3905 208 288 3910"
Option  "SwapAxes"      "1"
#touch rotates 180 degrees:
Option  "Calibration"   "3905 208 3910 288"
Option  "SwapAxes"      "0"
#touch rotates 270 degrees:
Option  "Calibration"   "208 3905 3910 288"
Option  "SwapAxes"      "1"
Interface
The pin marked as "NC" below indicates that the LCD is not occupied by the pin, and the user can use it for other applications.
| Pin Number | Identification | Description |
|---|---|---|
| 1 | 3.3V | Power (3.3V input) |
| 2 | 5V | Power (5V input) |
| 3 | NC | NC |
| 4 | 5V | Power (5V input) |
| 5 | NC | NC |
| 6 | GND | Ground |
| 7 | NC | NC |
| 8 | NC | NC |
| 9 | GND | Ground |
| 10 | NC | NC |
| 11 | NC | NC |
| 12 | NC | NC |
| 13 | NC | NC |
| 14 | GND | Ground |
| 15 | NC | NC |
| 16 | NC | NC |
| 17 | 3.3V | Power (3.3V input) |
| 18 | NC | NC |
| 19 | TP_SI | LCD display / SPI data input of touch panel |
| 20 | GND | Ground |
| 21 | TP_SO | SPI data output of touch panel |
| 22 | TP_IRQ | The touch panel is interrupted, and the low level is detected when the touch panel is pressed. |
| 23 | TP_SCK | SPI clock signal of touch panel |
| 24 | NC | NC |
| 25 | GND | Ground |
| 26 | TP_CS | Touch panel chip select signal, low level selects touch panel |
Some possible problems
Touch jitter so obvious, how to solve it?
De-jitter parameters can be set to solve the problem of touch jitter, but at the cost of sacrificing a part of the sensitivity.
Since the ads7846.dtbo provided by Raspberry Pi by default has no de-jitter parameters, you can increase the de-jitter parameters by modifying and replacing ads7846.dtbo
Specifically, the anti-shake function can be added in the following method:
1. Execute the following command:
wget https://files.waveshare.com/upload/2/29/Ads7846_waveshare.zip
unzip Ads7846_waveshare.zip
cd ads7846_waveshare
sudo cp ads7846_waveshare.dtbo /boot/overlays/
2. Execute the following command:
sudo nano /boot/config.txt
#Comment out the following line:
#dtoverlay=ads7846,cs=1,penirq=25,penirq_pull=2,speed=50000,keep_vref_on=0,swapxy=0,pmax=255,xohms=150,xmin=200,xmax=3900,ymin=200,ymax =3900
#Add the following command at the end of the config.txt file, it will take effect after rebooting the system.
dtoverlay=ads7846_waveshare
Related reference documents:ads7846-overlay.dts ads7846.txt
The installation of xserver-xorg-input-evdev and xinput-calibrator in Ubuntu system reports an error, so the touch cannot be used normally. How to solve it?
Note: The Ubuntu system may not be able to access the default source due to network problems in some regions, resulting in an installation error.
Solution 1, update the source:
1. Execute the command to view the current version:
lsb_release -c -s
For example, after execution, the system version may be: groovy
2. Execute the commands:
#backup the original source
sudo mv /etc/apt/syntaxhighlights.list /etc/apt/syntaxhighlights.list.old
sudo nano /etc/apt/syntaxhighlights.list
Add the following code and save:
#If your system version is not groovy, please replace the following groovy with the version name obtained in step 1
deb http://old-releases.ubuntu.com/ubuntu/ groovy universe main
deb http://old-releases.ubuntu.com/ubuntu/ groovy-security main universe
deb http://old-releases.ubuntu.com/ubuntu/ groovy-updates main universe
3. Execute the command to update:
sudo apt-get update
4. After the update is complete, run #Touch calibration again.
If the above source fails, the following methods can be used:
Solution 2, directly find the download address of the two applications, download and install directly
For 32-bit systems, execute the following commands:
wget http://deb.debian.org/debian/pool/main/x/xserver-xorg-input-evdev/xserver-xorg-input-evdev_2.10.6-2_armhf.deb
sudo dpkg -i xserver-xorg-input-evdev_2.10.6-2_armhf.deb
wget wget http://mirrors.ustc.edu.cn/debian/pool/main/x/xinput-calibrator/xinput-calibrator_0.7.5+git20140201-1+b2_armhf.deb
sudo dpkg -i xinput-calibrator_0.7.5+git20140201-1+b2_armhf.deb
For 64-bit systems, execute the following commands:
wget http://deb.debian.org/debian/pool/main/x/xserver-xorg-input-evdev/xserver-xorg-input-evdev_2.10.6-2_arm64.deb
sudo dpkg -i  xserver-xorg-input-evdev_2.10.6-2_arm64.deb
wget http://mirrors.ustc.edu.cn/debian/pool/main/x/xinput-calibrator/xinput-calibrator_0.7.5+git20140201-1+b2_arm64.deb
sudo dpkg -i xinput-calibrator_0.7.5+git20140201-1+b2_arm64.deb
The installation of xserver-xorg-input-evdev and xinput-calibrator in Kali system reports an error, so the touch cannot be used normally. How to solve it?
Note: The Kali system may not be able to access the default source due to network problems in some regions, resulting in an installation error.
Solution 1, update the source:
1. Execute sudo su to obtain administrator privileges. The default password is kali.
2. Execute the command:
wget -q -O - https://archive.kali.org/archive-key.asc | apt-key add
3. Execute the command to modify the source:
nano /etc/apt/syntaxhighlights.list
Comment out the original source and modify it to:
deb http://mirrors.ustc.edu.cn/kali kali-rolling main contrib non-free
Save and exit.
4. Execute the command to update:
apt-get update --fix-missing
5. After the update is complete, run #Touch calibration again.
If the above source fails, the following methods can be used:
Solution 2, directly find the download address of the two applications, download and install directly
For 32-bit systems, execute the following commands:
wget http://deb.debian.org/debian/pool/main/x/xserver-xorg-input-evdev/xserver-xorg-input-evdev_2.10.6-2_armhf.deb
sudo dpkg -i xserver-xorg-input-evdev_2.10.6-2_armhf.deb
wget wget http://mirrors.ustc.edu.cn/debian/pool/main/x/xinput-calibrator/xinput-calibrator_0.7.5+git20140201-1+b2_armhf.deb
sudo dpkg -i xinput-calibrator_0.7.5+git20140201-1+b2_armhf.deb
For 64-bit systems, execute the following commands:
wget http://deb.debian.org/debian/pool/main/x/xserver-xorg-input-evdev/xserver-xorg-input-evdev_2.10.6-2_arm64.deb
sudo dpkg -i  xserver-xorg-input-evdev_2.10.6-2_arm64.deb
wget http://mirrors.ustc.edu.cn/debian/pool/main/x/xinput-calibrator/xinput-calibrator_0.7.5+git20140201-1+b2_arm64.deb
sudo dpkg -i xinput-calibrator_0.7.5+git20140201-1+b2_arm64.deb
Resource
User Manual
3D Drawing
Software
FAQ
dusable_splash=1
{{{5}}}
{{{5}}}
sudo -E rpi-eeprom-config --edit
As shown in the figure below, change the 0 in the original DISABLE_HDMI to 1. If there is no such sentence, please add it directly, save the file and then restart.

{{{5}}}
{{{5}}}
Anti-Piracy
Since the first-generation Raspberry Pi released, Waveshare has been working on designing, developing, and producing various fantastic touch LCDs for the Pi. Unfortunately, there are quite a few pirated/knock-off products in the market. They're usually some poor copies of our early hardware revisions, and comes with none support service.
To avoid becoming a victim of pirated products, please pay attention to the following features when purchasing:
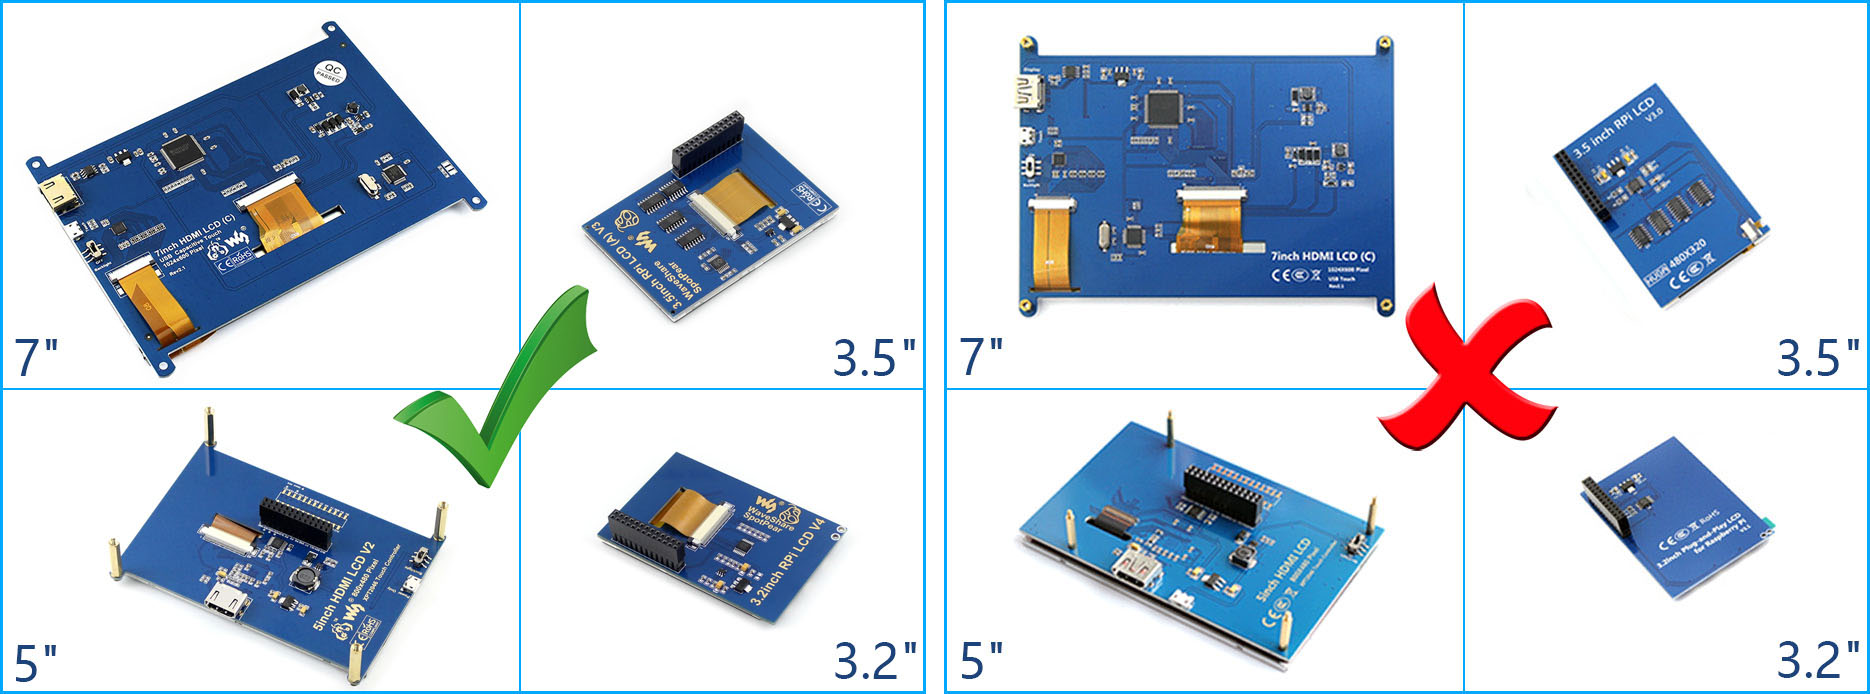
Beware of knock-offs
Please note that we've found some poor copies of this item in the market. They are usually made of inferior materials and shipped without any testing.
You might be wondering if the one you're watching or you've purchased in other non-official stores is original, feel free to contact us.
Support
Technical Support
If you need technical support or have any feedback/review, please click the Submit Now button to submit a ticket, Our support team will check and reply to you within 1 to 2 working days. Please be patient as we make every effort to help you to resolve the issue.
Working Time: 9 AM - 6 PM GMT+8 (Monday to Friday)