Template: 7inch HDMI LCD C Pi Guides
From Waveshare Wiki
How to use
Working with Raspberry Pi
Hardware Connection
- 1. Connect the Touch interface to the USB interface of the Raspberry Pi.
- 2. Connect the HDMI interface to the HDMI interface of the Raspberry Pi.

Software Setting
This LCD can support Raspberry Pi OS / Ubuntu / Kali / Retropie systems. When the LCD works on systems such as Raspberry Pi OS, the resolution must be set manually, otherwise, it will cause an abnormal display.
Please download the latest version of the image on the Raspberry Pi official website.
1) Download the compressed file to the PC, and unzip it to get the .img file.
2) Connect the TF card to the PC, and use SDFormatter software to format the TF card.
3) Open the Win32DiskImager software, select the system image downloaded in step 1, and click 'Write' to write the system image.
4) After the image has finished writing, open the config.txt file in the root directory of the TF card, add the following code at the end of config.txt, then save and quit the TF card safely.
hdmi_group=2
hdmi_mode=87
hdmi_cvt 1024 600 60 6 0 0 0
hdmi_drive=1
5) Insert the TF card into the Raspberry Pi, power on it, and wait a few seconds for a normal display.
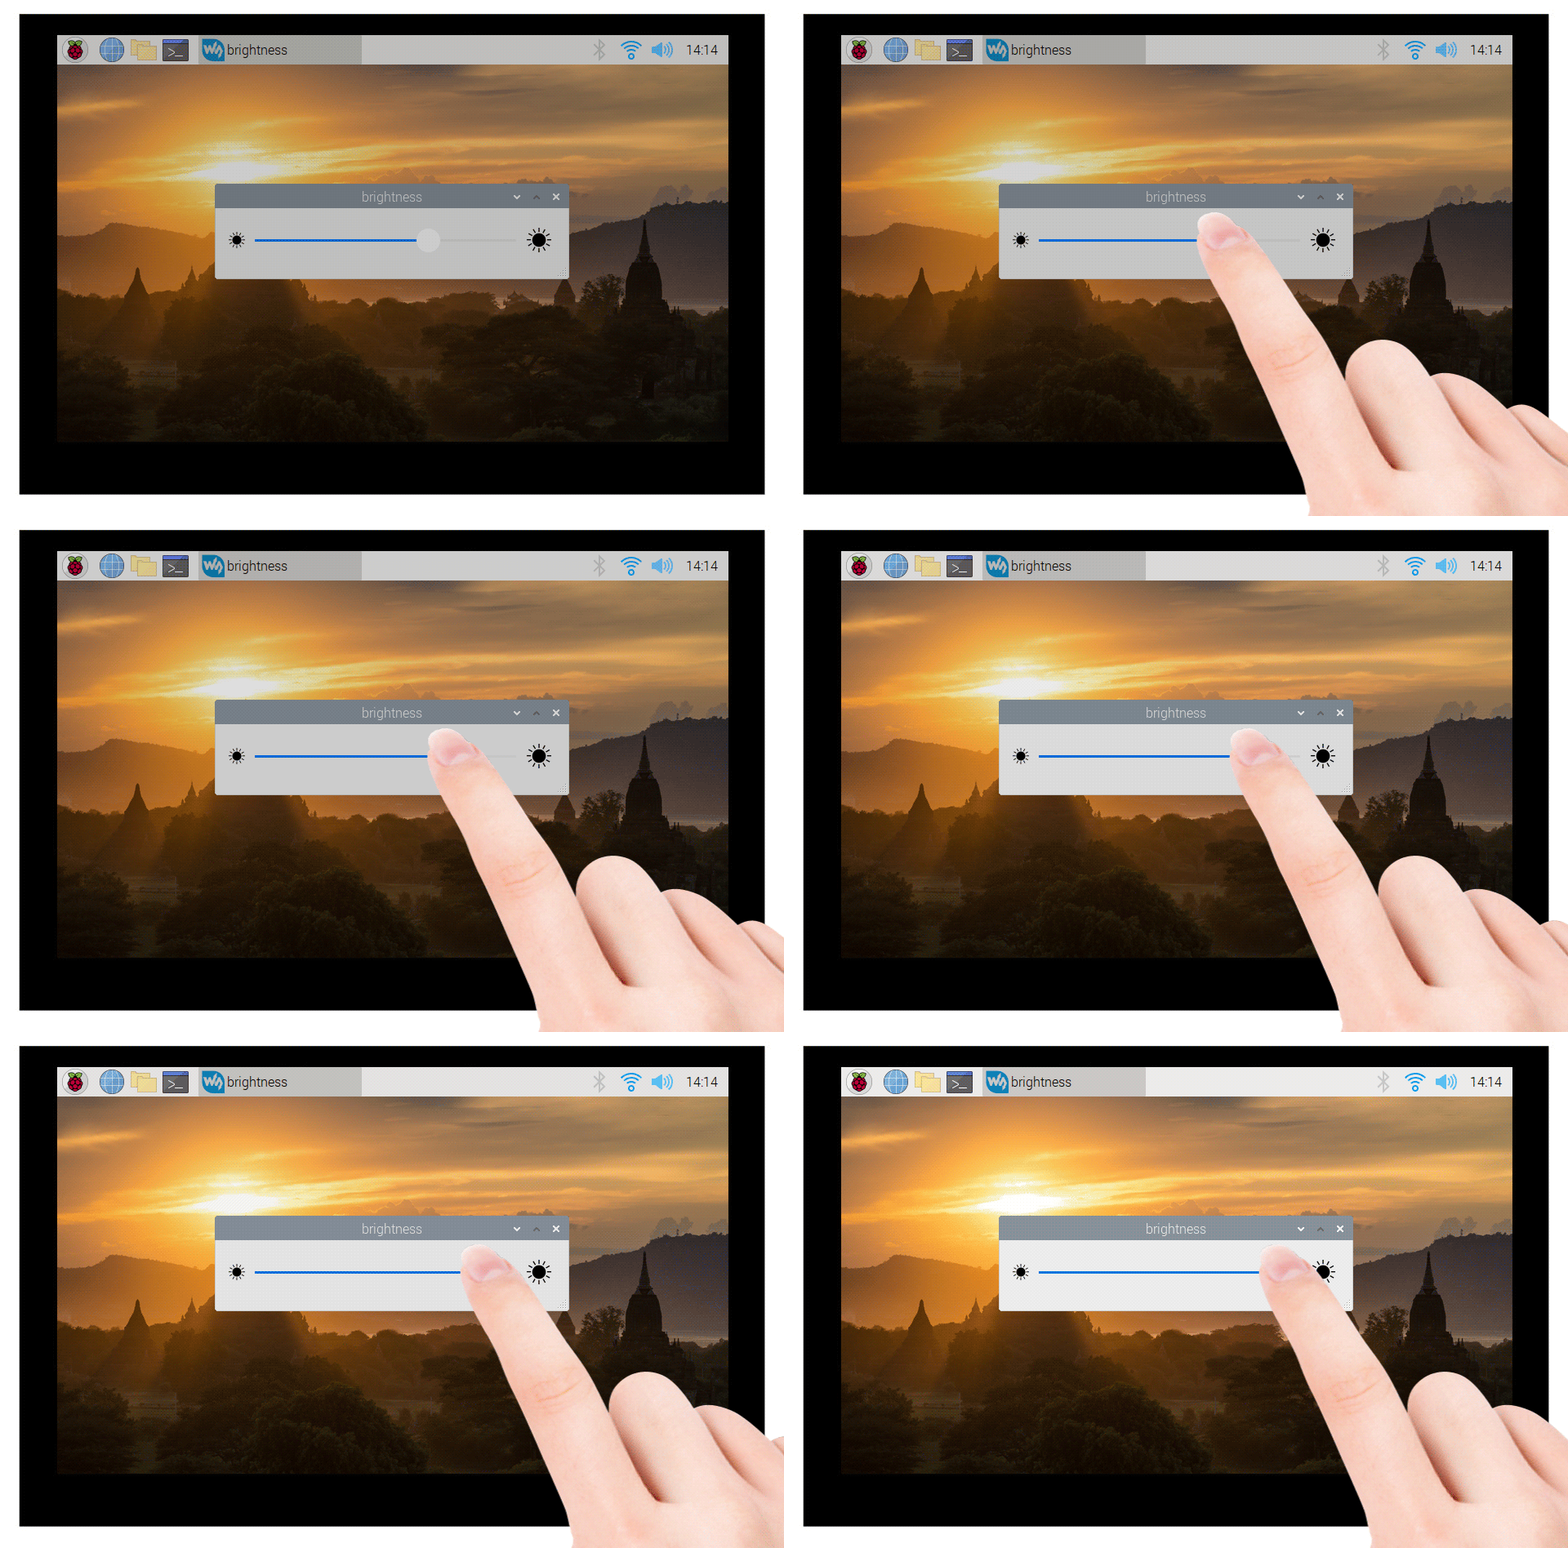
Backlight Adjustment
wget https://files.waveshare.com/upload/0/01/Brightness-HDMI.zip
unzip Brightness-HDMI.zip
cd Brightness-HDMI
sudo chmod +x install.sh
./install.sh
