
Template: USB-Camera-Guides
From Waveshare Wiki
Specification
Working with Windows PC
Test Software
Most of the Windows 10 PC has pre-install Camera software, you can use it to test the USB camera
If your PC doesn't have Camera software, you can also download the AMCap test software from Resouce->Software and test.
Testing
- Use Camera software of Windows
- Search "Camera" and open the software
- Click the setting icon of the top-left to configure the image/video.

- You can click the icons on the right to switch between Image Capture or Video Recording.
- AMCap Software
- Download and install the AMCap software
- You can click the Options option, choose Video Capture Pin... or Still Capture Pin... to configure image/video

Working with Raspberry Pi
- Open a terminal of Raspberry Pi (You can use Ctrl+Alt+T shortcut)
- Ues command sudo raspi-config to open the configuration
- Choose Interface Option -> Camera -> Yes to enable camera and reboot.
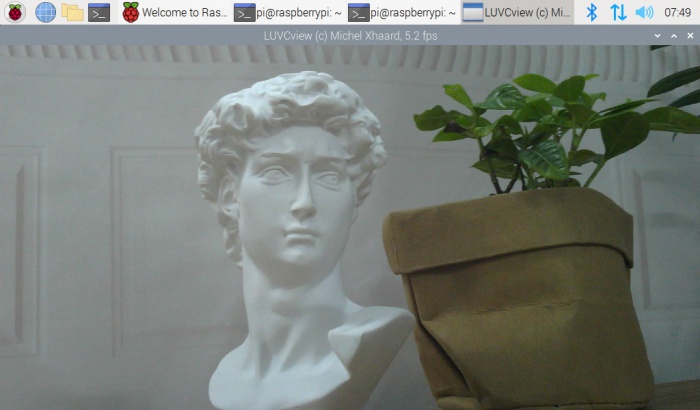
- Open a Terminal of Pi and install luvcview tool with the following command
- sudo apt-get install luvcview -y
- After installing, use the following command to test the USB camera.
- sudo luvcview -s 1920 x 1080

Working with Jetson Nano Developer Kit
- Open a terminal of Jetson Nano Developer Kit (You can use Ctrl+Alt+T shortcut or open it by Mouse)
- Use the following command for previewing:
- nvgstcapture-1.0 --camsrc=0
- With the command, a preview window is opened

【Notice】You may need to use the camera by script/codes, in this case, you can refer to tools/libraries like Opencv yourself.