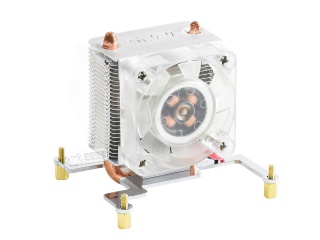
ICE Tower Fan for Pi
From Waveshare Wiki
Revision as of 10:17, 4 January 2020 by Waveshare-eng11 (talk | contribs)
The printable version is no longer supported and may have rendering errors. Please update your browser bookmarks and please use the default browser print function instead.
| ||
Assembly
| 1 | 2 | 3 |
| 4 | 5 | 6 |
Raspberry Pi 4B/3B+/3B
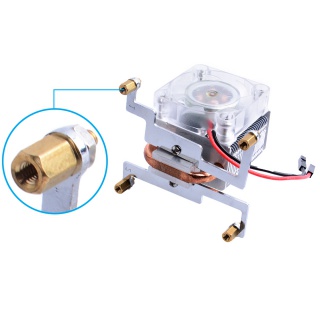
- 1. Fix the steel mounting fixer to radiator's heat dissipation cube by M2.0 screws
- 2. Fix the steel mounting fixer to Raspberry Pi’s mounting hole by M2.5 standoffs, and please make sure the heat dissipation is in contact with the CPU shield properly.
- 3. Fix the copper stick to Raspberry Pi with M2.5 nuts.
- 4. Connect the red wire to GPIO 5V pin and black wire to GPIO GND pin.
Package Include
- ICE Tower Fan for Pi x1
PS: Product does not contain thermal silicone grease, but if you have thermal silicone the dispassion effect will be better.
Customer Review
- YOUTUBE URL:
FAQ
- Q: Can it be installed to my retroflag case?
A: No, the dimension is too big.
- Q: How many degrees can be decreased?
A: We've tested it at room temperature 25℃, it can decrease about 40℃.
- Q: Does it easy to assemble?
A: Yes, it is very easy to install, we've provided an instruction for you.


