Chapter 9 of KitiBot-Microbit
2.4G Communication
You need at least two micro:bit for 2.4G testing
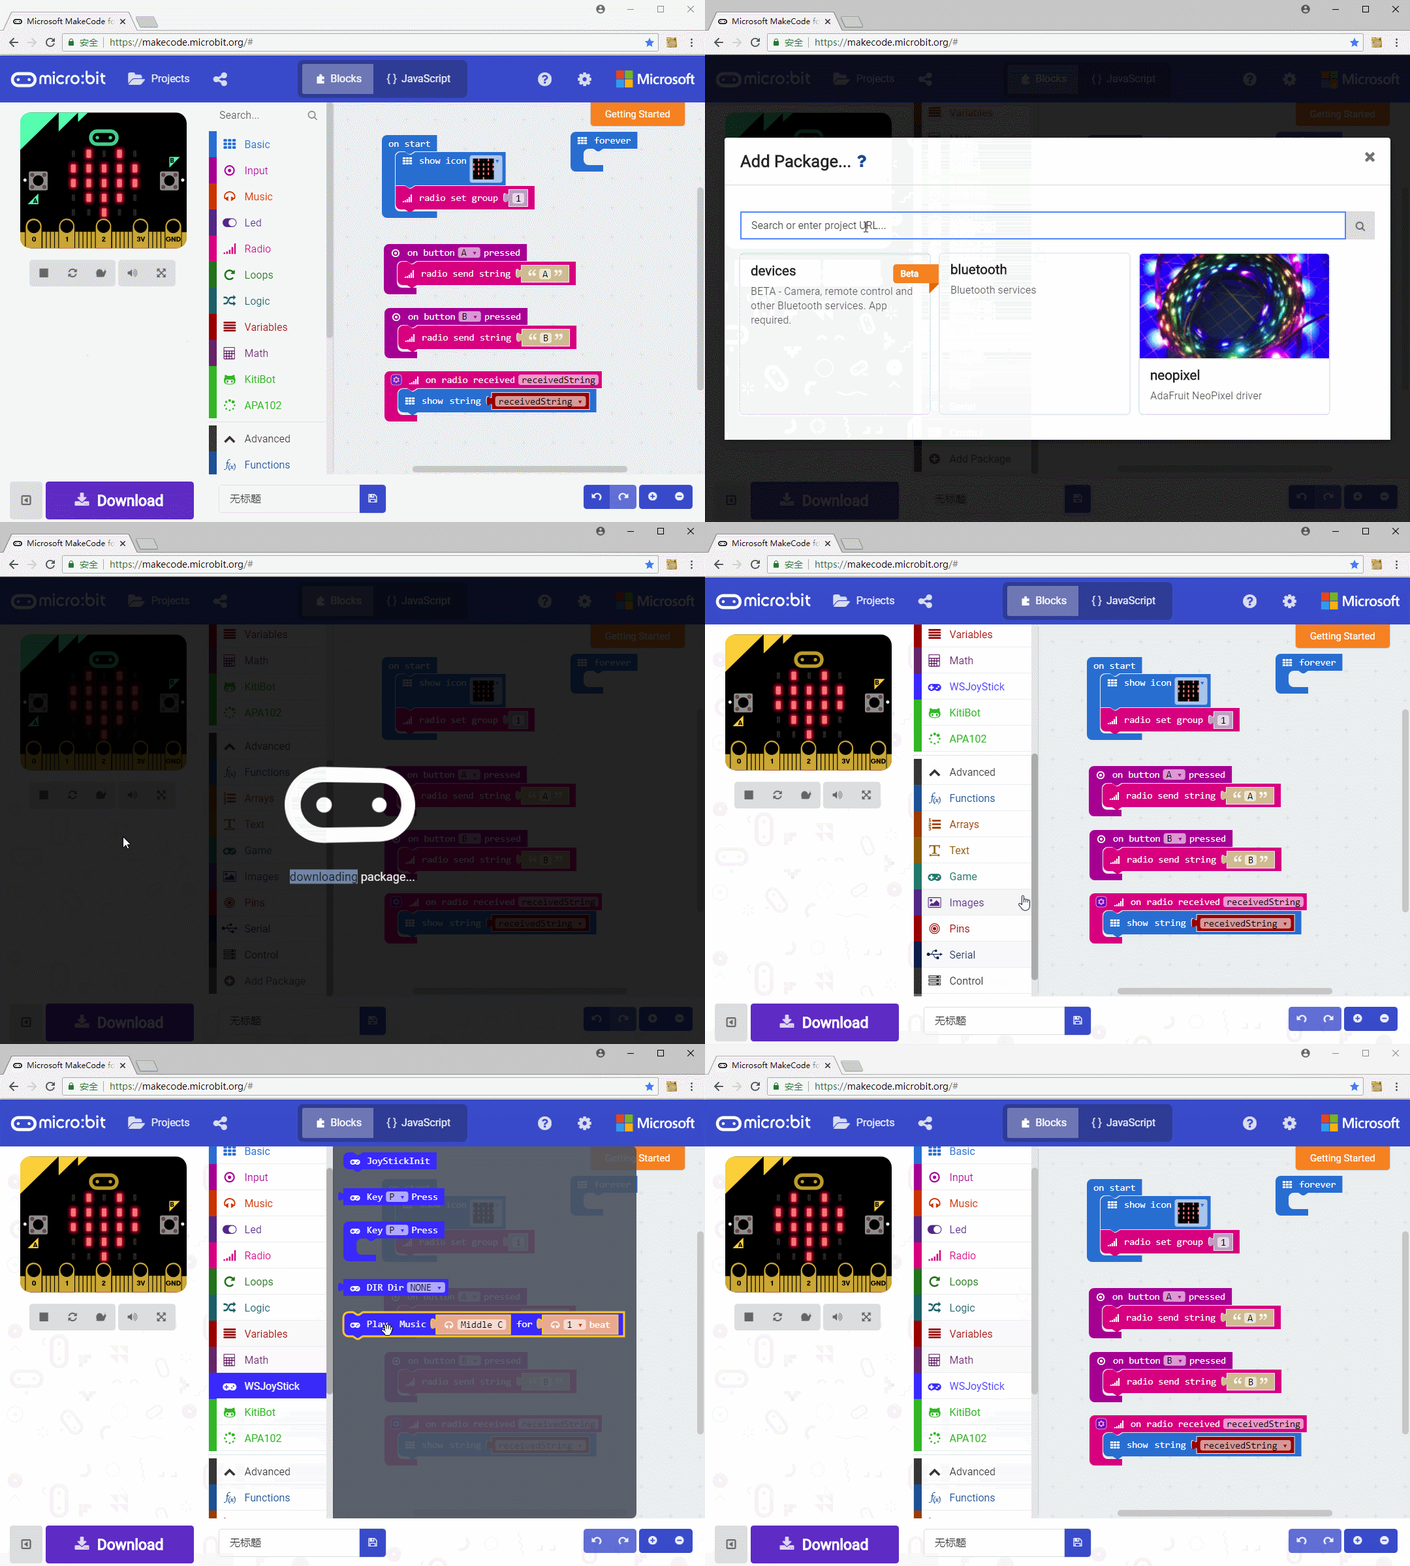
First we should add the package for 2.4G, note that its package could not be used with Bluetooth at the same time.
There are three types of radio blocks. Send, receive and initial
note: you should set the boards to the same wireless group for normal communication
Buttons
---
Press button A or B of one micro:bit, and another will show characters A or B on LED matrix
Radio control KitiBot
We have learned how to use radio above, here we learn to use radio to control KitiBot by the module Joystick for micro:bit.
To use the Joystick for micro:bit, you need to install WSJoyStick package.https://github.com/waveshare/JoyStick
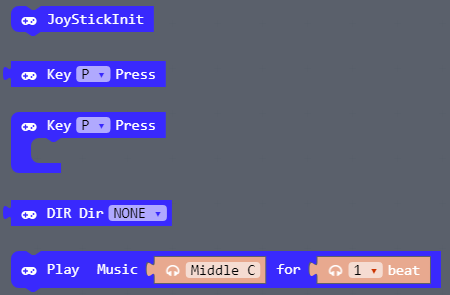
The block in WSJoyStick package are:
JoyStickInit: Should be used on start for initailization
Key P Press: This block is used to detect if buttons are pressed
DIR Dir None: Used to judge direction of joystick.
Let's go to write the sending code of Joystick by modifying the last project.
Add JoystickInit to on start, DIR block is used to detect if the joystick is pressed to up. If joystick is pressed to up, sending character "U" and display arrow North on matrix. Here we use if...then..., with this structure, micro:bit will sending "U" when button is pressed and "N" when released. We also put a loop block while to waiting for button being released,make sure micro:bit only send one message when pressing and one message when releasing.


