
Details
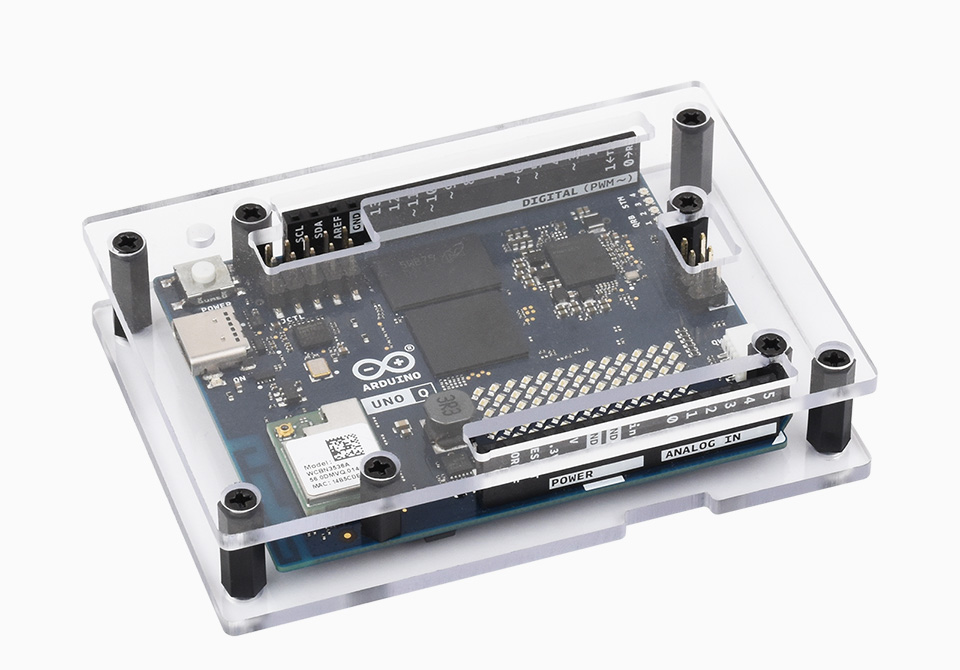
* Note: Package contents vary by the selected version option.
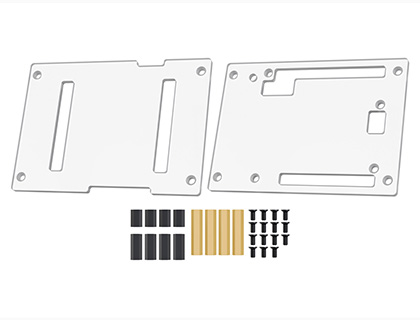
UNO-Q-Case-A
the transparent case Only
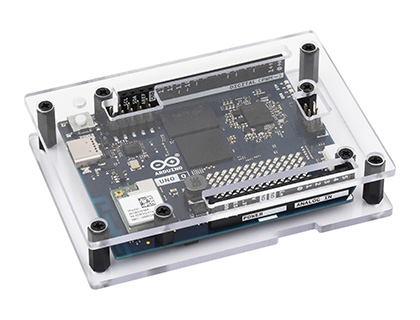
UNO-Q-02016-KIT-A
Transparent case + Arduino UNO Q 02016 (2GB RAM + 16GB eMMC)
UNO-Q-04032-KIT-A
Transparent case + Arduino UNO Q 04032 (4GB RAM + 32GB eMMC)
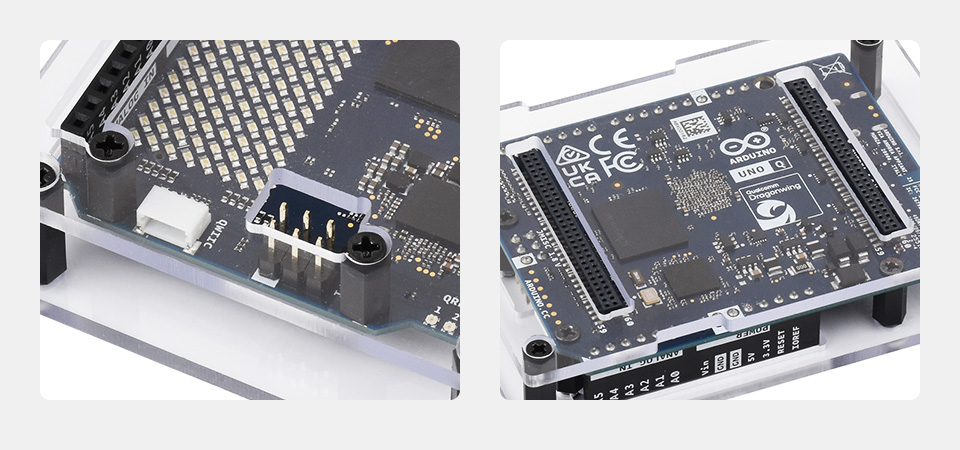
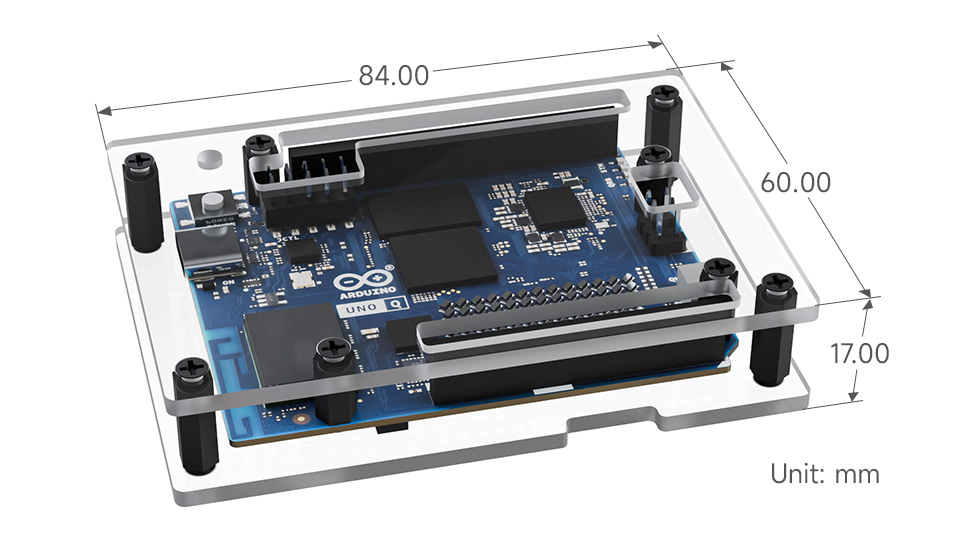
Lightweight, durable transparent PC case for board protection and clear visibility, with precise cutouts for peripheral access
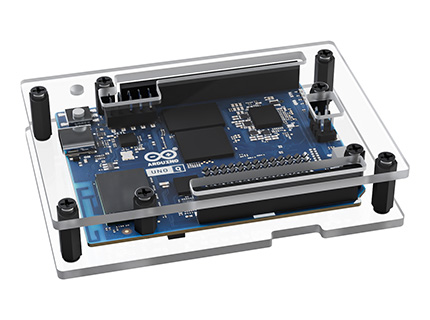
Arduino UNO Q Only
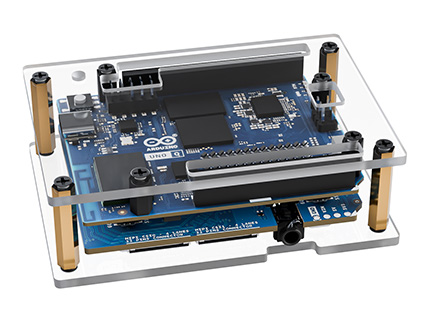
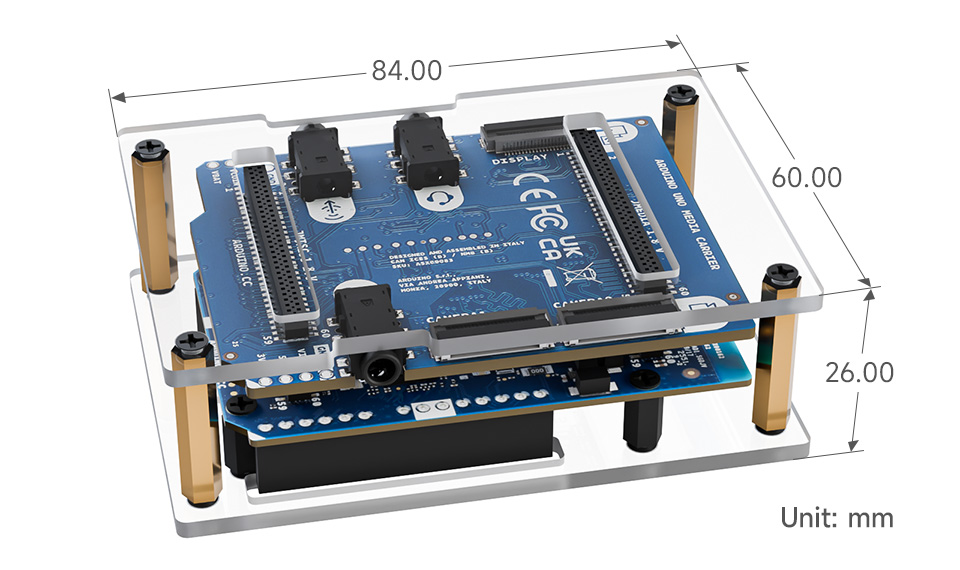
Arduino UNO Q with UNO Media Carrier
* Note: for reference only, please refer to the package content for the detailed part list.
UNO Q Board Installation
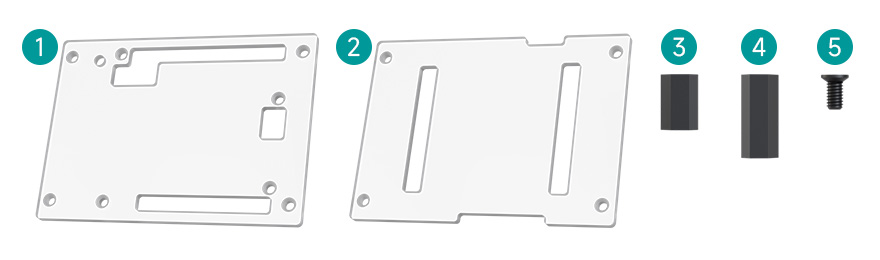
For proper assembly, use the included screws and standoffs shown above.
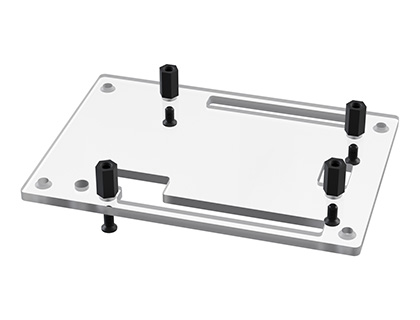
Step 1:
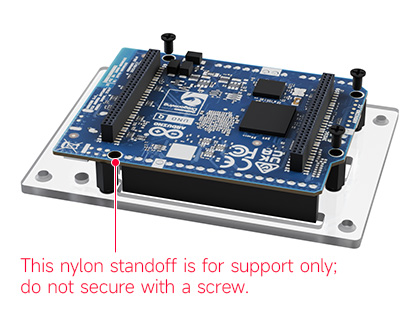
Align the nylon standoffs ③ with the four inner holes in top plate ①, and secure them from underneath with screws ⑤.
Step 2:
Place the UNO Q board on top plate ①, aligning its mounting holes with nylon standoffs ③. Secure the board at all mounting holes with screws ⑤ except the support-only standoff shown.
Step 3:
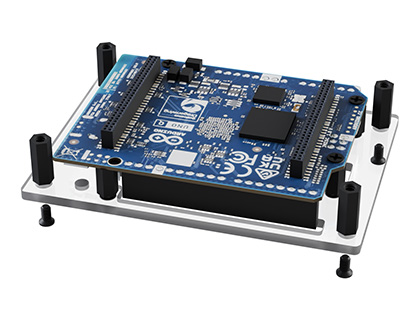
Align the nylon standoffs ④ with the four corner holes in top plate ①, and secure them from underneath with screws ⑤.
Step 4:
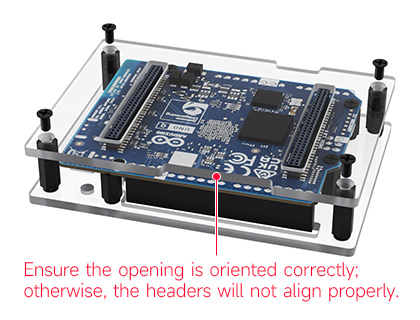
Place the bottom plate ② onto nylon standoffs ④, align the mounting holes with the standoffs, and secure it from above with screws ⑤.
* Don't overtighten the screws to avoid damaging the plates or board mounting holes.
UNO Q with UNO Media Carrier Installation
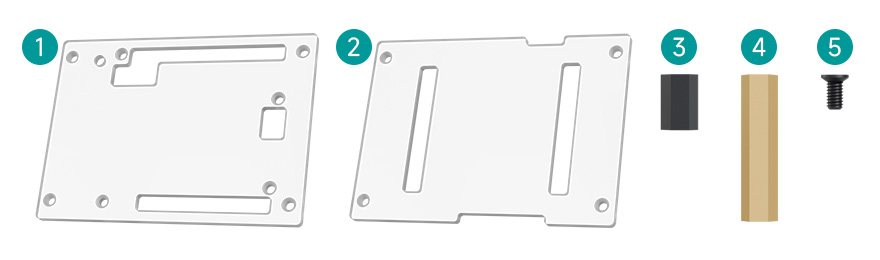
For proper assembly, use the included screws and standoffs shown above.
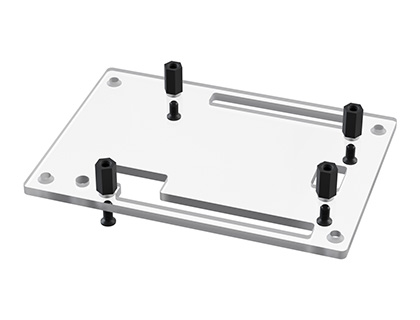
Step 1:
Align the nylon standoffs ③ with the inner holes in top plate ①, and secure them from underneath with screws ⑤.
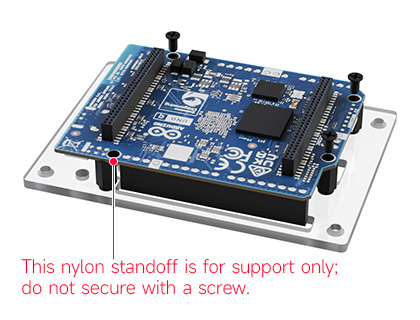
Step 2:
Place the UNO Q board on top plate ①, aligning its mounting holes with nylon standoffs ③. Secure the board at all mounting holes with screws ⑤ except the support-only standoff shown.
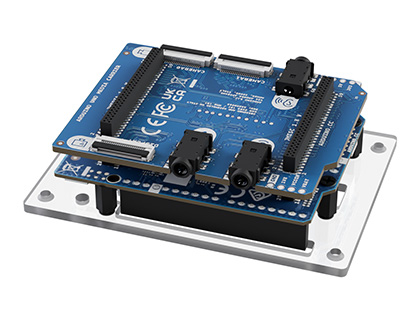
Step 3:
Align the pin headers of the UNO Media Carrier with the corresponding headers on the UNO Q, and then press straight down until fully seated.
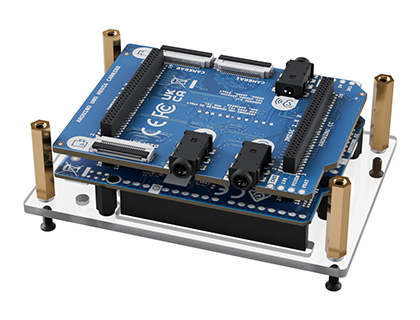
Step 4:
Align the brass standoffs ④ with the four corner holes in top plate ① and secure them from underneath with screws ⑤.
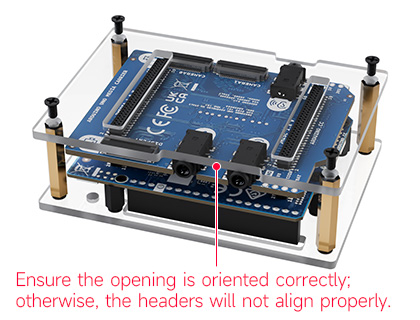
Step 5:
Place the bottom plate ② onto brass standoffs ④, align the mounting holes with the standoffs, and secure it from above with screws ⑤.
* Don't overtighten the screws to avoid damaging the plates or board mounting holes.
UNO Q Board Installation
UNO Q with UNO Media Carrier Installation
* Note: for reference only, please refer to the package content for the detailed part list.
Quick Overview
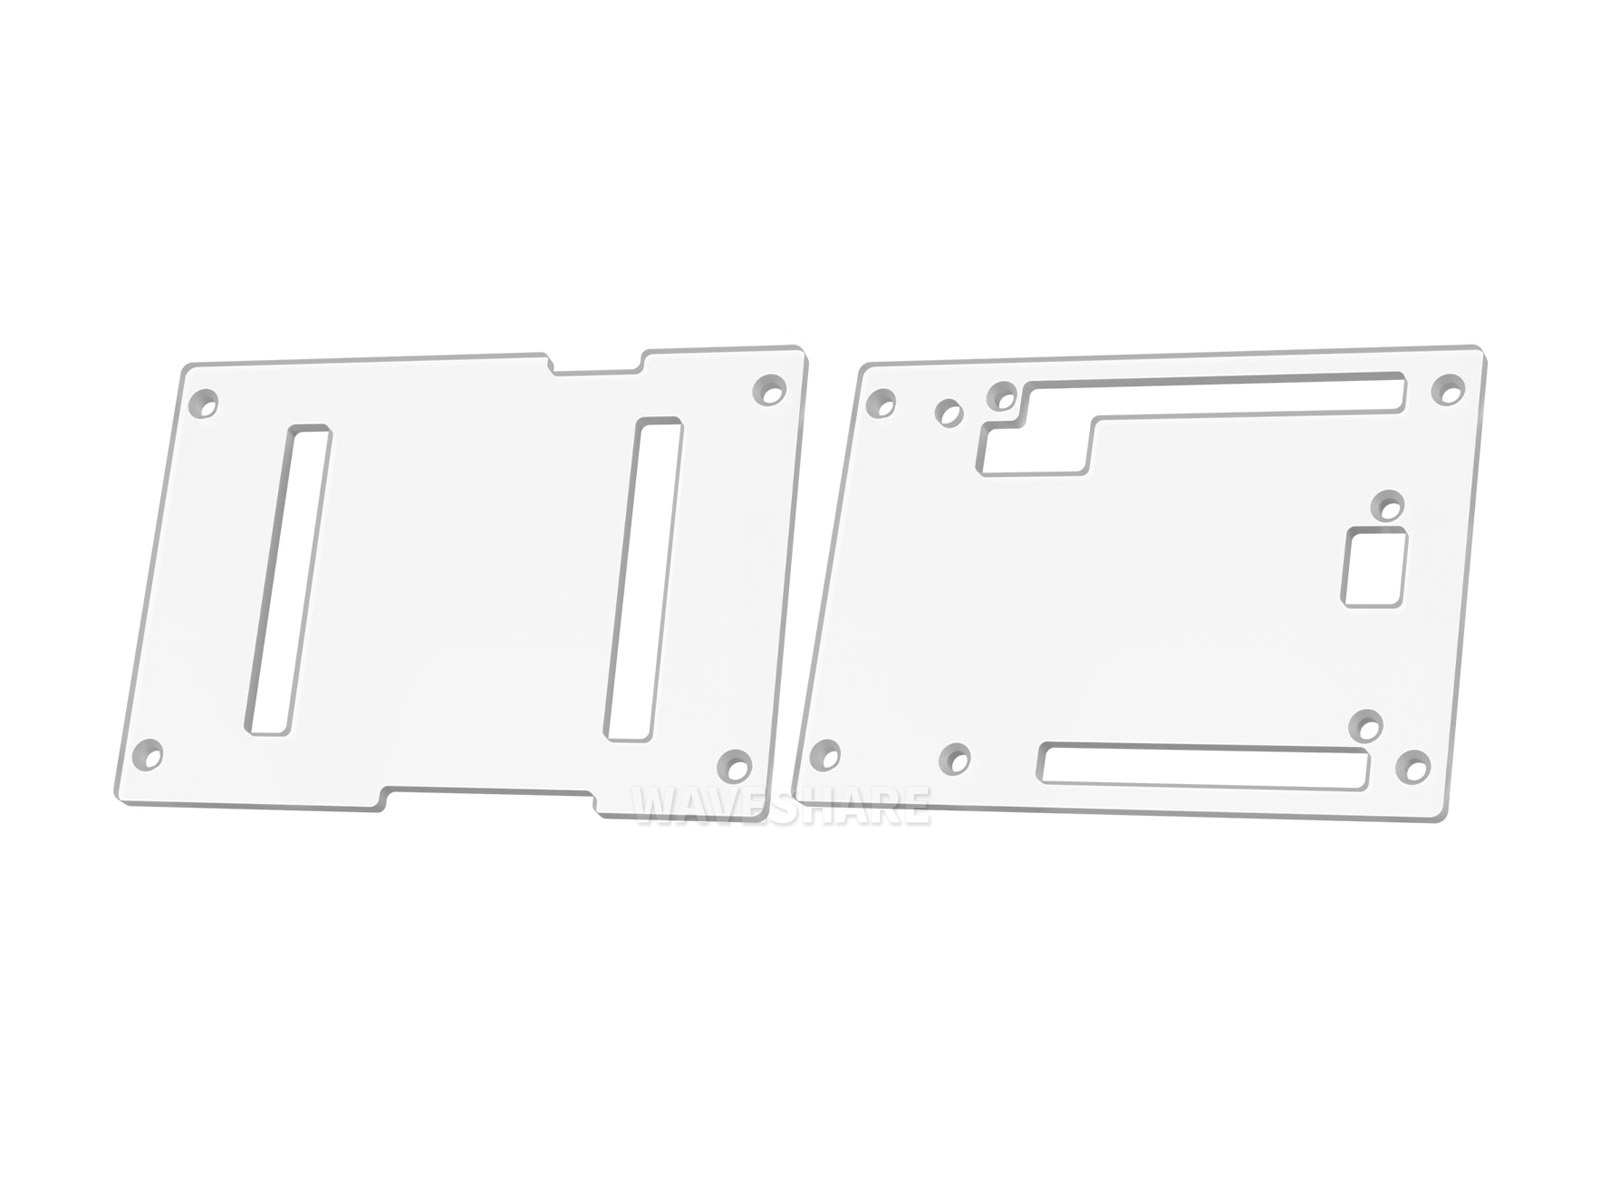
UNO-Q-Case-A
- Transparent case (top & bottom plates) x1
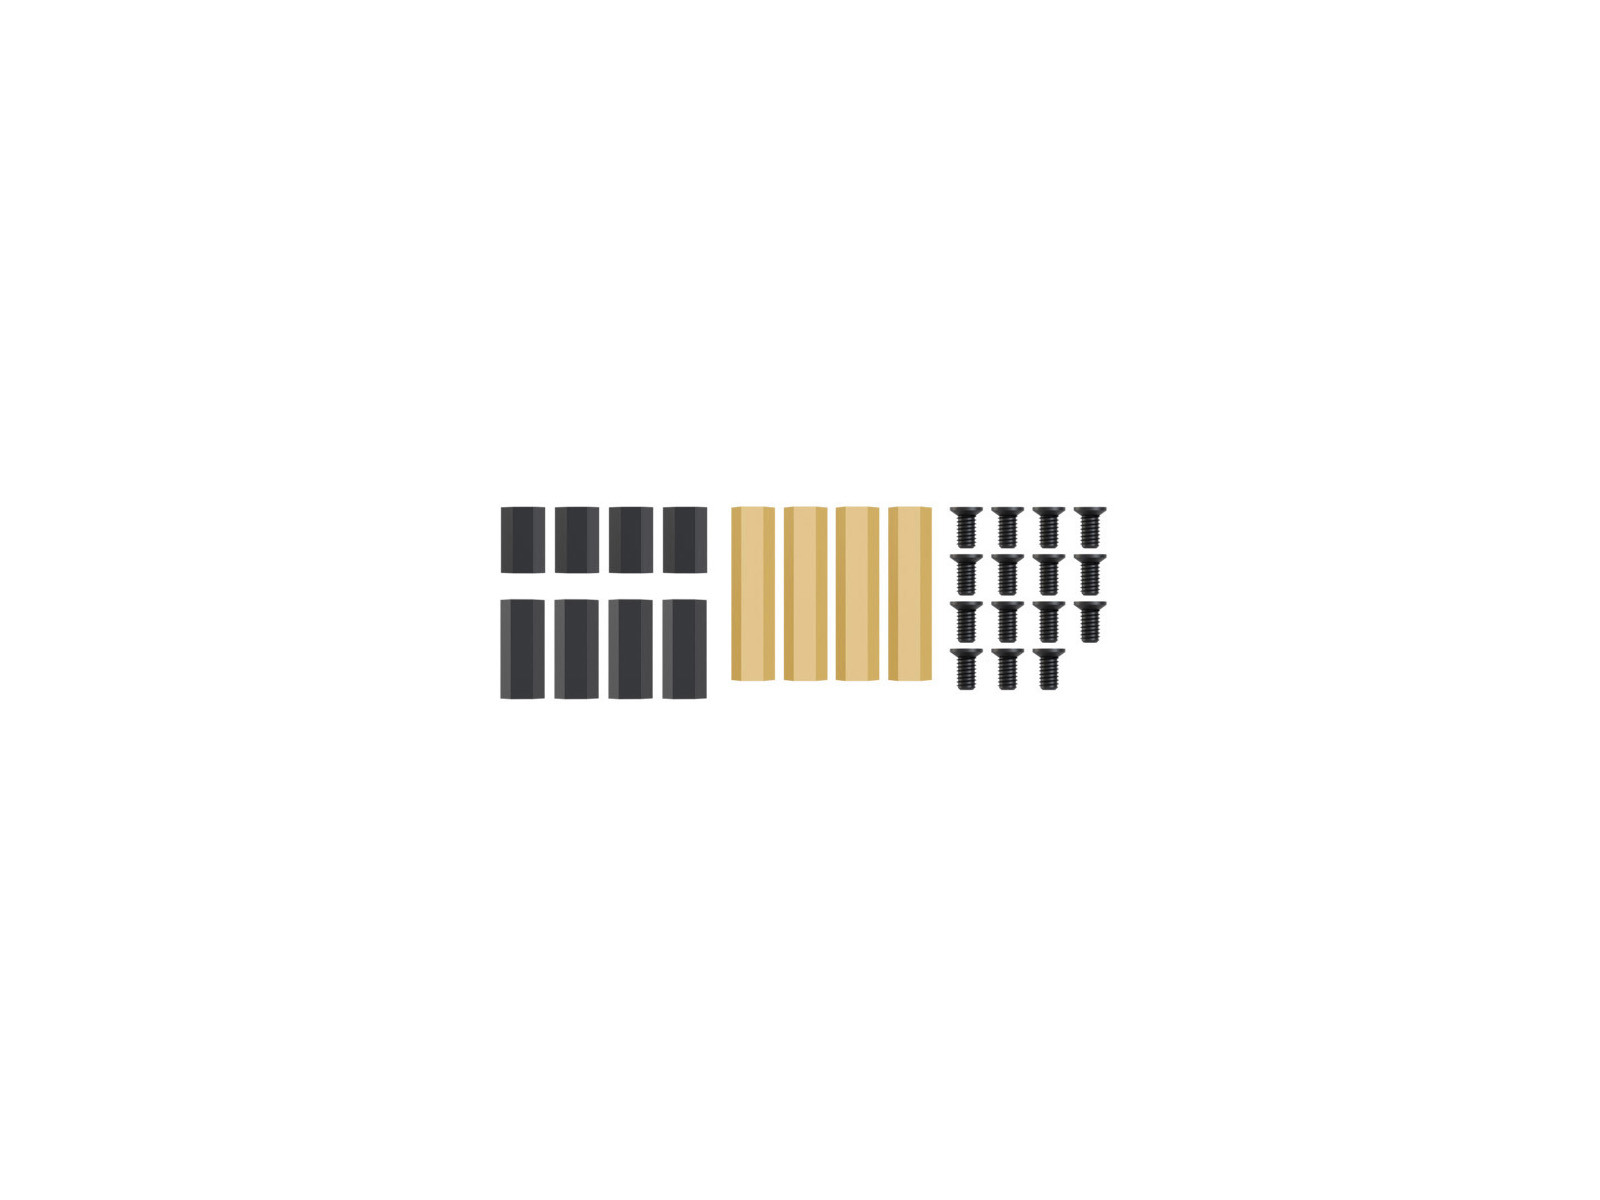
- Screws pack x1
UNO-Q-02016-KIT-A
- Arduino UNO Q 02016 x1
- Transparent case (top & bottom plates) x1
- USB Type-A male port to Type-C male port cable ~1m x1
- Screws pack x1


UNO-Q-04032-KIT-A
- Arduino UNO Q 04032 x1
- Transparent case (top & bottom plates) x1
- USB Type-A male port to Type-C male port cable ~1m x1
- Screws pack x1


